Blog
How to read errors using OBD Scan Tool
PocketScan code reader enables the user to read OBD II DTCs from the on-board computers of 1996 and newer cars and light trucks. This gives the user the ability to quickly determine the cause of the Check Engine light coming on. Once repairs are made, the PocketScan allows the user to clear the DTCs and turn off the Check Engine Light.
Connecting the OBD Scan Tool to a Car
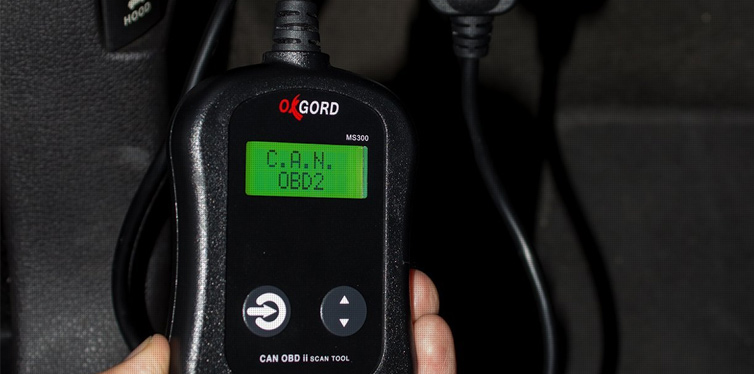
Switch the car's ignition key to the off position and then locate its Data Link Connector (DLC). The usual location for the DLC is under the dashboard below the steering wheel. If the connector is not in this location, look at the label there pointing to where the DLC is. The connector looks like a female VGA connector with a row of holes for pins designed for an OBD II scanner. Plug in the OBD II cable from the OxGord Scanner to the DLC. Wait until the display on the scanner reads "Scan," and then start the car's engine.
Reading Diagnostic Trouble Codes
Press the read/scroll-down button and then release it. If the OBD II scanner displays diagnostic trouble codes from a previous scan, press the read/scroll-down button again. Hold the button for three seconds before releasing it. An asterisk scrolls across the scanner's display as it seeks to establish a connection with the car's on-board computer. Once it establishes a link, the display shows the first diagnostic trouble code. If the display shows "No Link," turn the ignition to the off position. Leave it there for 10 seconds before switching back to the on position and then retry establishing a connection.
The display shows the number of codes pulled from the car's computer. Press and release the read/scroll-down button to cycle through these codes. The OxGord Scanner displays diagnostic trouble codes with or without a "pd" symbol. Codes with this symbol are pending codes that signify possible oncoming diagnostic errors. To scroll back to a previous code, press the erase button.
Reading Malfunction Indicator Lamp Status and Emission Data
To read the malfunction indicator lamp (MIL) status, press the read/scroll-down button after the display shows the last diagnostic trouble code. The MIL status displays the state of the car's on-board computer modules and possible emission problems. If the scanner display reads "MIL On," then there is a possible emission problem. Push the read/scroll-down button again to view incomplete I/M monitors.
Inspection/Maintenance Monitors
I/M monitors are Inspection/Maintenance monitors that provide an overview of a car's emission systems. They monitor misfires, fuel system, air systems, catalyst, oxygen sensors, and exhaust gas recirculation. The scanner displays "Inc" for incomplete monitors and "Ready" for ready monitors. The difference is that incomplete I/M monitors still require the car to run longer for a full assessment. To read diagnostic trouble codes again after viewing MIL and I/M data, press and hold the read/scroll-down button for three seconds.
Erasing Diagnostic Trouble Codes
Switch off the car's engine and connect the OxGord Scanner to the DLC. Wait until the display shows "Scan" and then turn the ignition key to the on position while leaving the engine off. Press the erase button and hold it down for three seconds. Wait until the display shows "Erase?," and then hold the erase button for three seconds again. A dotted line moves across the display of the OBD II scanner as it erases stored diagnostic trouble codes. The display now shows "Done" when the erasing process is complete.
How to Buy
Find a generous inventory of OxGord Scan Tool in the wide selection of automotive code readers and scanners on carpartsnigeria.com. To see the full inventory of OBD II scanners, use search tool found on any page of the site. A quick search is likely to bring up the OxGord OBD Scan Tool. You can then refine your search results with filters such as condition, price, and item location.
Posted on July 2018,18 // Author: Admin